- Welcome to the Kancolle Wiki!
- If you have any questions regarding site content, account registration, etc., please visit the KanColle Wiki Discord
User:Remi Scarlet/Blog/FurutakaKaiNiCosplay/Day7
Day 7
Date: 5/29/15
Time spent: ~4 hours
Show/Hide Day 7
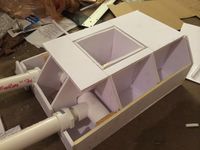
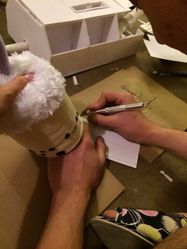
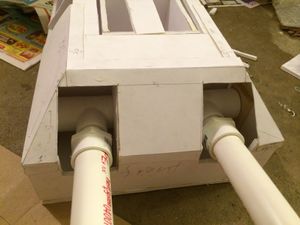
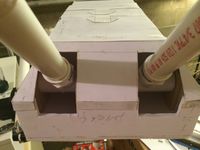
So after trying to avoid the problem for a few days, I finally gave in and decided to work on the roofing and walls for the shoulder cannon. Basically the reason I didn't want to start on this so much was because I felt like measuring out and cutting the front wall where the cannon barrels stick out would be annoying since... well, I'll just show a pic.
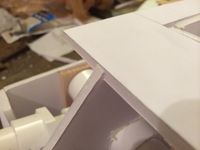
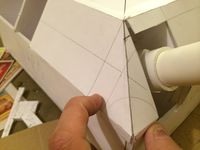
Something I should also note here that the top piece was inserted after cutting away about 0.25inches of the top from the horizontal support grid. You can see it in the following picture, but the tip of the slope actually covers the thickness of the top foam board. Those words probably made zero sense so just look at the image.
That done, I had to actually start cutting out test cuts from non-prepared paper to make sure my measurements and whatnot were correct. Remember from day 1 that I had prepared a few sheets of "layered" paper so as to act as a sturdier and more versatile "sheet". As a note, I've been making about 4 of these every other day or so, even though I haven't been denoting as such on the blog.
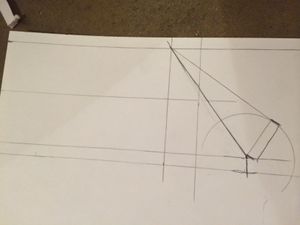
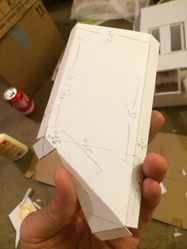
Measuring out the exact dimensions can be a bit difficult for stranger cuts and locations such as the diagonal corners of the cannon's front, as denoted earlier. As such, I basically did some measurements and trig to get the supposed lengths and sizes for the corners and hoped for the best. A clever trick I used here is that for the triangular flap that's at the end of the half trapezoid, I knew the triangular cut had to have a 1inch leg and a 2.75inch leg so I made a circle with 1inch radius and used a ruler to connect the third leg's endpoint to the point on the curve that made it exactly 2.75inches. As it turns out, which should have been obvious if I had thought about it a bit, that it's just the tangent line to the curve. This part also probably made zero fucking sense so just look at the image. That done, I now had to simply cut out the slice with my X-acto knife.
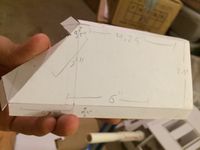
That all said and done, I decided my cut was mostly good and just needed a few small adjustments. One of these adjustments was that the triangular flap that went on the front side of the cannon needed to be adjusted a little bit. I accounted for these in my following "final" diagram that I proceeded to cut out and prepare.
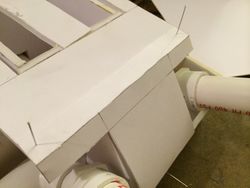
That done, I simply pasted it on and I ended up with a little something like this.
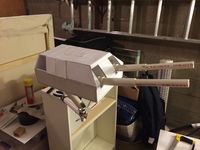
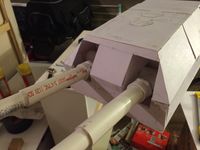
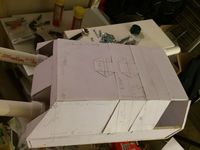
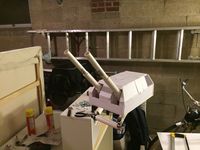
The rest of the progress done are pretty self-explanatory so I'll just do another gallery style dump here. The remaining images are basically showing the shell-like layering I'm doing for the rest of the body of the cannon and some final shots of the shell covering it except for the final piece which will be visibly missing.
