- Welcome to the Kancolle Wiki!
- If you have any questions regarding site content, account registration, etc., please visit the KanColle Wiki Discord
User:Remi Scarlet/Blog/FurutakaKaiNiCosplay/Day12
'Day 12 New!
Date: 6/16/15 through 6/26/15
Time spent: ~25-30 hours. Hell if I know
Whooo 10 day hiatus from posting.
Show/Hide Day 12
I think I've been getting lazy with the posts. No denying it now.
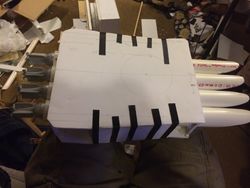
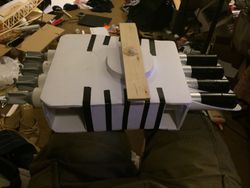
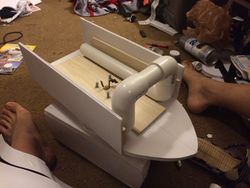
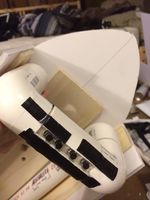
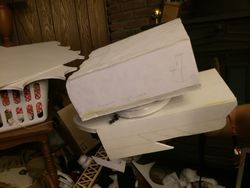
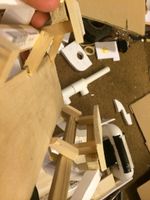
Back Half of Arm Cannon


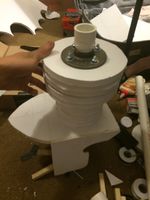
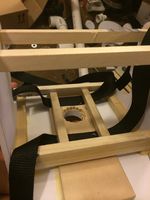
So if you look at Furutaka's arm cannon, you'll notice that the back cannon is actually elevated a bit up so... you know, the cannons don't shoot into each other. That said, I decided to just make the elevating platform consist of many half inch thick discs. To allow for attaching the actual turret, I once again used a steel floor flange. To keep that stable on the foamboard (Which isn't the most rigid material ever), I simply threw in a layer of wood.
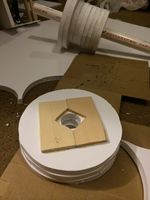
Turret elevation rings being assembled
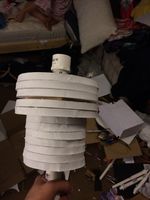
Turret elevator
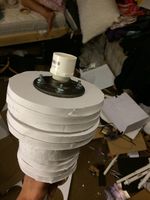
Different angle


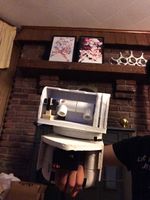
That done, I decided to work a bit more on the back piece for the arm cannon, the part that the elevator would stick into. This by itself was actually pretty simple since the only thing I really did was add in straps to attach it to my arm. Quite simple, really. I used a tri-glide strap holder in a way it's definitely not meant to to keep it in place. As a note, I did sew the straps together after sliding it into the tri-glide.

Arm cannon's back half

Back component of arm cannon with turret elevator
Top side
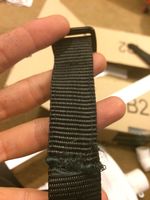
Arm band with tri-glide... these aren't meant to stop belts loll;
Gluing the straps onto the cannon


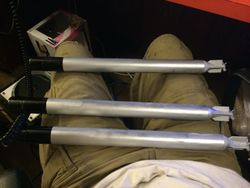
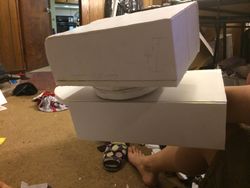
Torpedoes and Holder

This part was pretty fun. My 3D printed torpedo propellors came in so I just slapped them into the PVC tubing and painted those babies up. Ended up looking pretty slick! Aside from that, I also added on the connection point of the torpedo casing to my leg.
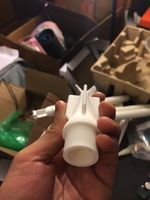
Torpedo propellors!

Different angle

Gluing them together
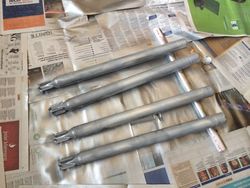
Rest of the turret barrels

Torpedoes with gesso being applied
Torpedoes getting first layer of paint
Taping the torpedo to apply black paint layer
Another shot
Applying black paint over masking tape
Torpedoes finished!
Torpedo casing!
Other side!


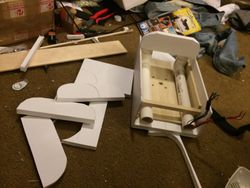
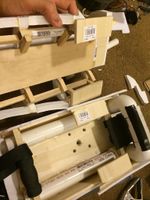
Front Half of Arm Cannon

So this is just going to be mostly galleries since it should be pretty self-explanatory. For this first part, it'll be the preliminary construction of the walls for the front half and getting the PVC grip in-place. Something that I kept high in my priority was to make many components of this removable so I had easy access in case something broke. The last thing I want is the wiring in the grip to fuck up and suddenly I can't get to it because I glued everything together :(
Working on building side walls of front half of arm cannon
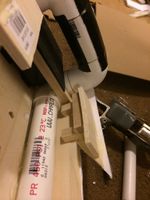
PVC grip in-place
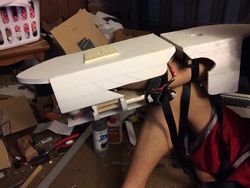
Holding up in-progress cannon
Upside-down, but should look something lik ethis.
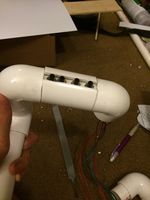
Buttons! These will control the turrets

Holding the cannon
Another shot of the front


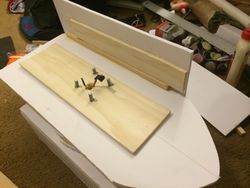
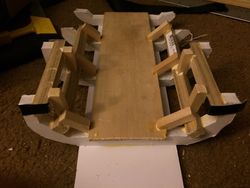
Then the next part is constructing the bottom half of the front cannon. This is basically creating a hull-like thing that'll attach to the bottom. This will be removable. I also worked on getting a sideways V-cut on the back of the hull as this is portrayed in the actual character design as well. This was a bit annoying to figure out because of the non-angular portions of the hull and whatnot. In the end I just decided to create a wood skeleton inside the foamboard outline I already had. You know, usually you construct the softer part around the skeleton, not the other way around lol.
Working on building the bottom half of the hull's frame

Measurements!
Frame coming to life!
Starting to look like something
Penciled lines indicate where cut will go
Enforcing the bottom hull's frame
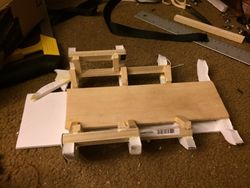
Different angle
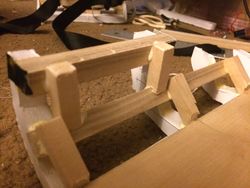
Closer shot

Bottom hull's curves glued in


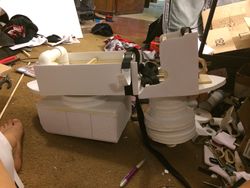
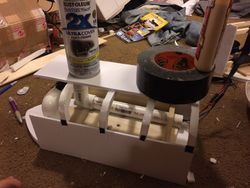
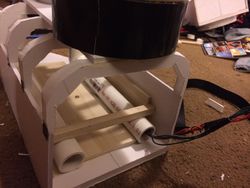
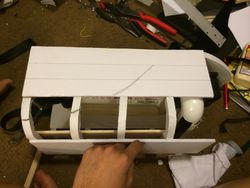
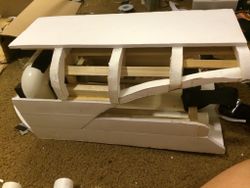
The third part is Further working on the top half (I'm doing this in the order I worked on the parts as opposed to realigning them) I cut out parts of the walls as the original image portrays a sideways V-like cut on the side. Aside from that, I also stuck the battery in which will be powering the motors.
Front half of arm cannon with turret on top
Front shot

Angled shot
In-progress shot of both front and back halves of arm cannon


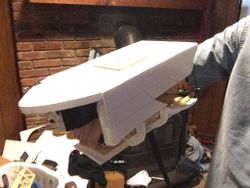
Finally, I worked on both halves to add a platform that would allow me to place some velcro in to attach the two halves together. This was relatively straight forward. By the end of this, the bottom hull looked pretty crazy.
Shot of the platform to put velcro on
A shot of the platform on the bottom hull where the velcro will go on
Two platforms will align
Like so
Two halves velcro'd together
Velcro in shot


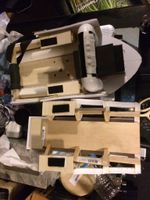
Clothes
So I was originally hoping to not have to work on this, but it ended up with me not being able to get away lol. Basically I was hoping I could buy the right kinds of clothes for the outfit but apparently the top portion of Furutaka's clothes, the kinda sailor uniform, is not really a thing. That said, I ended up being a long sleeved one that mostly looked right and went ahead and modified it.
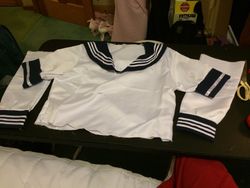
Modified long-sleeve sailor suit. Shortened sleeves and needs center to be cut
Front cut with cuff things

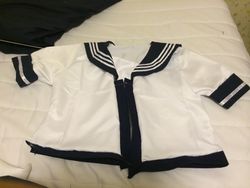
Semi-final product


And here's me wearing these and the bodysuit
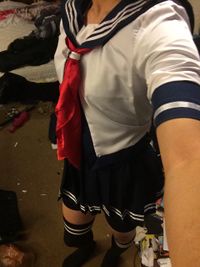
Wearing most of the clothes :)
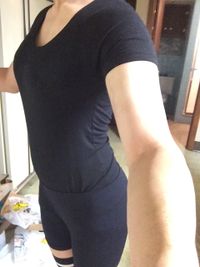
Bodysuit underneath kek


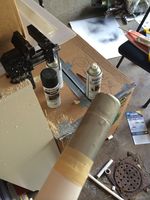
Random other Shit
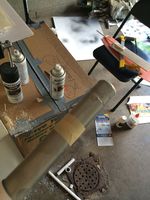
Battery came in!
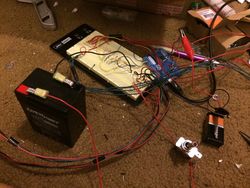
Batteries! The acid lead battery is used for powering small vehicles lol;;

Battery charging


And painting the backpack thing!

Top shot of the exhaust pipe
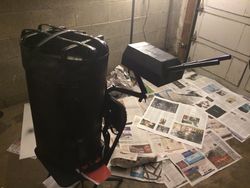
Smokestack backpack and shoulder cannon


And the torpedo rack on my shin armor!
